
Blender 3D:菜鳥到專業/印章
Stamping in blender is a rendering option. A stamp on a render can prevent that render from being lost, keeping your project organized, and keeping your files organized.
An example of a stamped Image

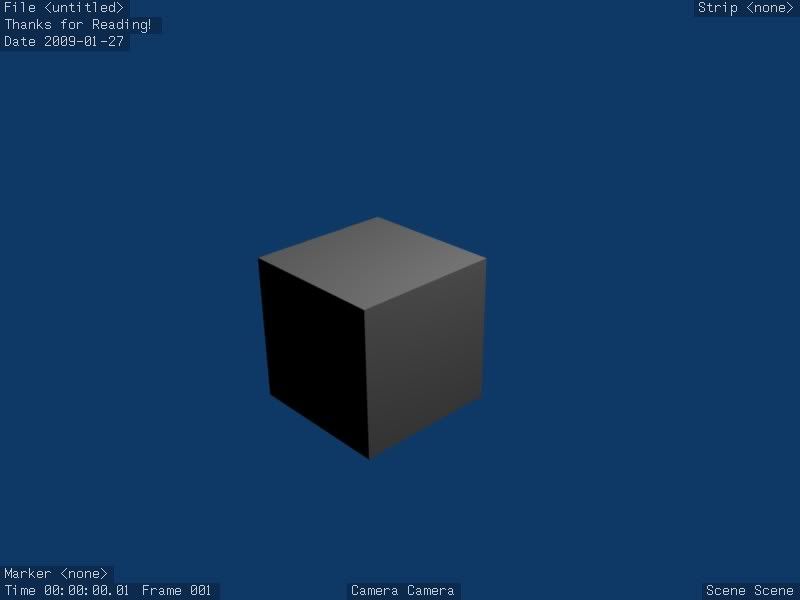
Now my render is associated with a file, I know the date it was rendered at, and I've stated that the image is property of the OWF project.
Let's start off by opening up Blender. We are presented with the default scene.

Go to "Scene". Hit F10 or click the Scene button. ![]()
On the far right side you can spot a panel for the format of your renders.

Pick the "Stamp" tab.
You should be presented with a button: ![]()
Click on the button and you should see a variety of options.

Enable Draw Stamp to see your stamp in your render, more on Draw Stamp later on.
Each setting does something different. Here's a breakdown
檔名:如果啟用,此選項將顯示檔案路徑。如果您尚未儲存檔案,它將顯示“檔案 <未命名>”檔名顯示在左上角。當多個印章在渲染的左上角時。
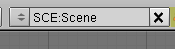
場景:如果啟用,此選項將顯示渲染所在的場景名稱。[img]http://i245.photobucket.com/albums/gg79/tictoon/screenshot8.png[/img] 它將顯示在渲染的右下角。
相機:如果啟用,它將顯示渲染場景的相機名稱。它顯示在渲染底部的中間。
時間:如果啟用,此選項將顯示動畫的時間戳。它顯示在渲染的左下角。
日期:如果啟用,將顯示渲染的日期。它出現在渲染的左上角。
幀:如果啟用,動畫的幀將顯示在左下角。
標記:如果啟用,標記將被印章到渲染上。它位於左下角。
序列條:如果啟用,它將顯示序列條。顯示在右上角。
注意:這是一個自定義印章。您可以在此處輸入任何您想要的內容,它將被印章到渲染的左上角。
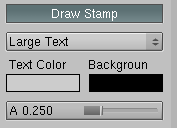
繪製印章:這需要啟用才能在渲染中看到印章。[img]http://i245.photobucket.com/albums/gg79/tictoon/screenshot10.png[/img] 下拉選單提供了各種尺寸的印章文字。文字顏色用於顯示文字的顏色。預設值為灰色。 "背景" 是文字的背景。預設值為黑色。"A" 代表 Alpha。它指示背景的 alpha 值。
Now enable some buttons and hit F12 and you should see stamps on your render!
E效率提示:將此功能與 Evernote 結合使用非常有用,因為 Evernote 可以找到影像中的文字,因此您可以快速找到包含印章的渲染。我使用檔名和拍攝日期在 Evernote 中查詢我的影像。繼續混合 :D [img]http://i245.photobucket.com/albums/gg79/tictoon/stampedcube.jpg[/img]